
Nason is one of the popular picks among numerous brands in the market. People put faith in Nason sealer when it comes to car painting. However, there are a few issues with this sealer that can break your heart.
So, what are Nason sealer problems and their solutions?
Users of Nason sealer experience poor coverage after application. You can solve this issue easily by properly mixing the ratio of the sealer before application. Peeling issues also occur which can be avoided with a precise spray gun technique. If the sealer produces blistering bubbles, the product has gone bad. So you need to buy a fresh batch and store it correctly.
Keep reading to discover the causes of each problem so that you can avoid them in the future. In the article, we have also provided a detailed answer to your shake question.
4 Common Nason Sealer Problems And Their Solutions!
Nason sealer fills in small imperfections, such as sanding marks, and seals the surface before painting. Car exteriors can be coated with them. In order to match the color of the topcoat, the sealer is available in a variety of colors.
This sealer often struggles with various issues. It’s time to figure out the appropriate solutions. So, before going to discuss them in a broader manner, let’s have a sneak peek first.
| Problem | Reason | Solution |
| Poor Coverage | Improper mixing dirty surface | Mix properly clean the surface before applying |
| Peeling issues | Incorrect spray gun handling | Set up spray gun accurately |
| Blistering bubbles | Sealer has gone bad | Get a fresh batch |
| Thin consistency | Manufacturing faults | Buy alternatives |
Problem 1: Poor Coverage
The most common challenge users have faced during applying Nason sealer is the poor coverage it provides. There could be several reasons why Nason Select Seal is giving poor coverage. Let’s have a peek at them.
Reason 1: Improper Mixing
If the sealant is not mixed well, it may not spread evenly and give poor coverage. People often ignore the manufacturer’s instructions on how to mix the sealant correctly.
This always yields inadequate distribution.
Forgetting to add the activator will also result in poor performance. Also, the mixing has a fixed time known as pot life, after that it loses its optimal efficiency.
Solution:
Check out the following table for the mix ratio of elements according to the official TDS document.
| Components | Volume |
| SelectSeal™ 422-5X™ 2K Urethane Sealer | 4 |
| SelectPrime™ 483-87™ / 483-88™ 2K Activator 1 | 1 |
Before application, it’s a good practice to shake the sealer upside down in a paint shaker for about 15 minutes. The pot life of the mix is 1 hour at 70°F (21°C). So, don’t go over this time. Also, you should apply one full uniform coat and avoid heavy applications for a more uniform coating.
Reason 2: Dirty Surface
The surface you are applying the sealant to must be clean and dry. If the surface is dirty or has moisture, the sealant may not adhere properly, leading to poor coverage.
Solution:
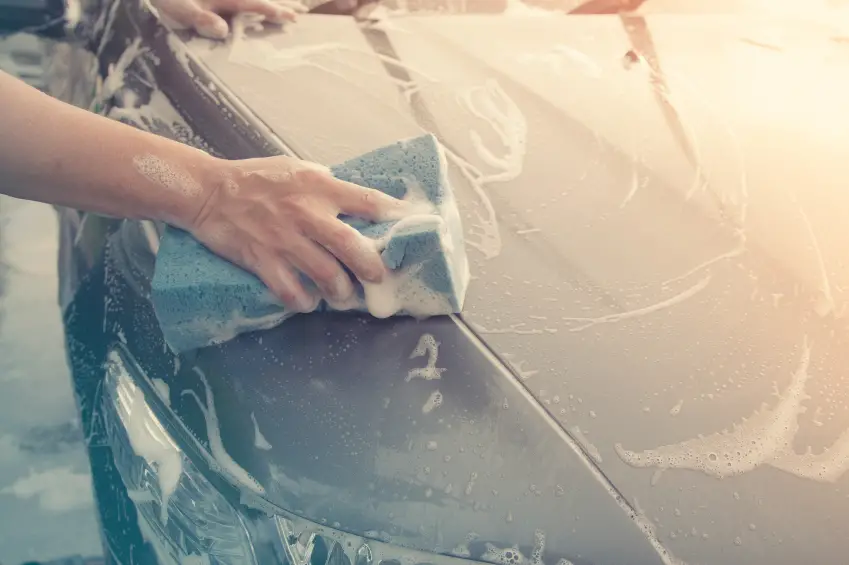
Before sanding, wash the surface with soap and water. Rubbing compounds that won’t come off can also be removed with soapy water. Then remove wax, and grease using wax remover and clean rags. Nason recommends using Nason® 441- 05™ Silicone and Wax Remover or 481-75™ Surface Cleaner for such purposes. No sanding is necessary for this product.
The company advises using the sealant on all OEM (Original Equipment Manufacturer) substrates. The following list includes the proper product substrates on which you can apply the sealer.
| Substrates | Product Line |
| Primer | Ful-Poxy® 491-16™ DTM Epoxy Primer/Sealer, SelectPrime™ 491-17™ 2K Etch Primer, SelectPrime™ 421-23™ 1K Acrylic Primer-Surfacer, SelectPrime™ 491-55™ Chrome-Free Etch Primer. |
| Primer-surfacer | Ful-Fil® 421-08™ 1K Acrylic Primer, Ful-Fil® 421-09™ 1K Acrylic Primer, SelectPrime™ 421-10™ 2K DTM Urethane Primer, SelectPrime™ 421-17™ 2K Urethane Primer, SelectPrime™ 421-19™ 2K Urethane Primer, SelectPrime™ 421-23™ 1K Acrylic Primer-Surfacer |
| Topcoat | All Nason® topcoats |
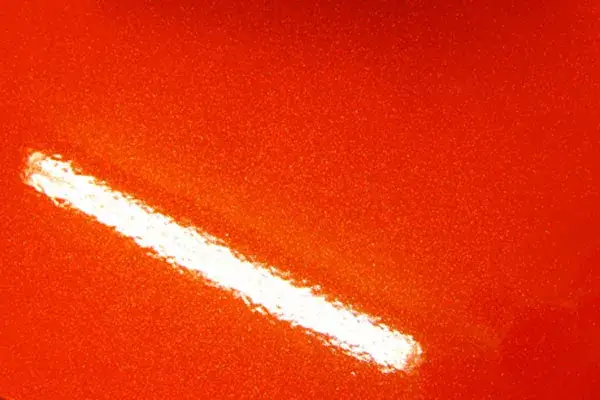
Problem 2: Peeling Issues
The next severe problem is getting orange peeling after shooting the sealant. Peeling means that the sealant has lost its adhesion to the surface it was applied to and is coming off in layers or sheets.
Reason: Incorrect Spray Gun Handling
The main reasons for peeling issues are directly related to improper spray gun techniques. This includes wrong PSI settings, incorrect nozzle tip selection, and also the spray gun is dirty.
Solution:
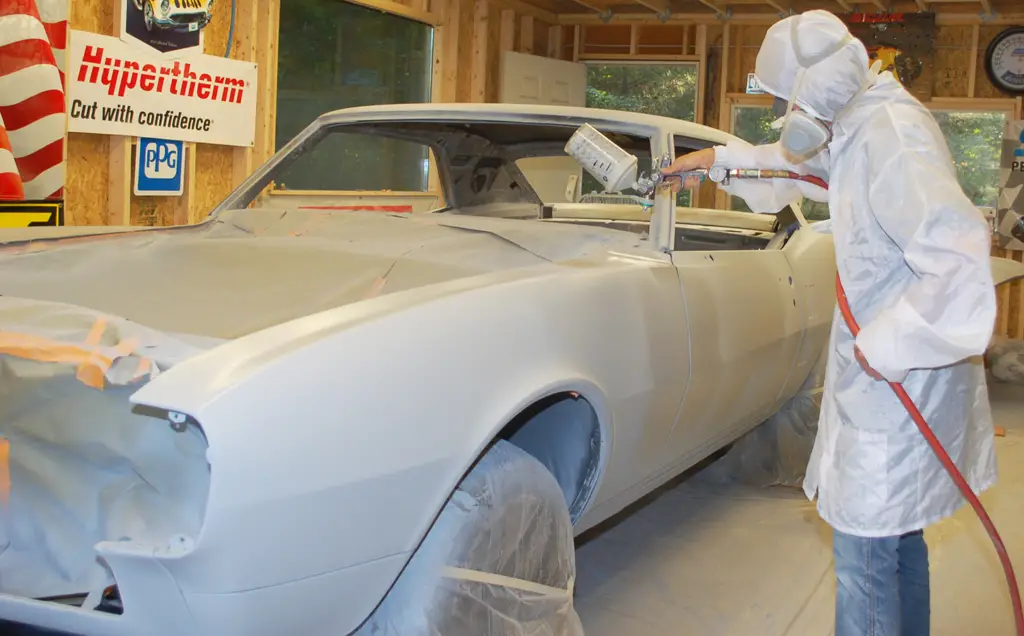
To avoid orange peels, you should know accurate information about spray gun set-ups. Make sure the gun is clean before starting any kind of procedure. You can follow this video for an easy cleaning tutorial for your spray gun.
After a good clean, you can do light wet sand with soap on the surface if you want. Then a perfect set-up of the gun is in order for spraying. Spray pressure and tip selection vary depending on whether you use a conventional gun on an expensive HVLP. Have a look at the following tables for a precise idea.
Spray Pressure:
| Conventional | |
| Siphone Feed | 30-45 PSI |
| Gravity Feed | 25-40 PSI |
| HVLP | |
| Siphone & Gravity (Both) | 8-10 PSI |
Tip Selection:
| Conventional | |
| Siphon Feed | 1.5-1.8 mm |
| Gravity Feed | 1.5-1.8 mm |
| HVLP | |
| Siphon Feed | 1.5-1.8 mm |
| Gravity Feed | 1.2-1.5 mm |
Selecting a proper spray nozzle can be a bit tricky. So you better follow the given instructions while selecting them.

Problem 3: Blister Bubbles
Many users experience the sealant getting a significant amount of blister bubbles after spraying. Blistering bubbles after spraying the sealant can indicate some possible causes. Let’s get to know them.
Reason: Sealer Has Gone Bad
Like any other chemical product, the sealer has surpassed its expiration date. An old Nason sealer will have a sandy look and feel grainy along with the appearance of blister bubbles. Improper storing will also make it go rancid.
Solution:
The solution to this problem is pretty obvious. Unfortunately, you have to throw it away and get yourself a new batch. As this is a chemical substance you need to maintain it according to the maintenance guideline.
You need to keep the product in a non-corrosive environment in a temperature range of 50°F to 110°F. Nason sealer is a Volatile Organic Compound. So, keep it away from sources of heat, ignition, and direct sunlight. Also, store it separately from oxidizing agents and strongly alkaline and strongly acidic materials.
Nason sealer has a 2-year shelf life if the container is sealed or unopened. So, do keep an eye on that and always source fresh batches from trusted vendors. Containers that are opened must be carefully resealed and kept upright to prevent leakage.
Problem 4: Thin Consistency
If you’re a user of Nason sealant, the consistency might disturb you. Because people address that its consistency is quite thin which is inappropriate for having a proper layer. So, people with little experience in coating face difficulties during application.
Reason: Manufacturing issue
The product is a mixture of synthetic resins, pigments, and solvents. Surely the sealer is a thin-bodied material but that’s the way it’s supposed to be. Other than that, improper mixing ratio and exposure to sunlight can cause the chemical composition to be thinner than usual.
Solution:
Check the solutions discussed above to know the correct mixture ratio and storage indications. If you are still facing difficulty handling this product, you can opt for some alternate renowned brand. I have provided some alternatives below, you can check them out.
| DuPont Chroma Premier 42470S 2K Premier Sealer | SpeedoKote SMR-210/211 Automotive High Build 2K Urethane Primer | VintagePro 2K Urethane Non-Sanding Sealer | Eastwood 2k Urethane Car Primer |
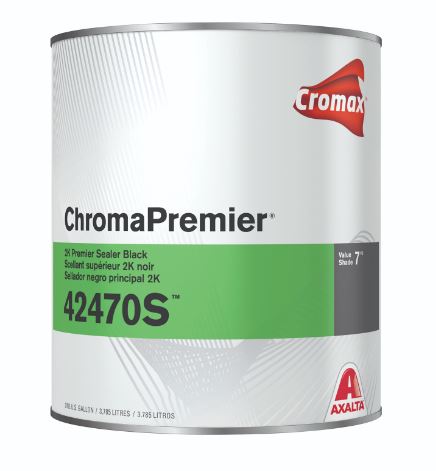 | 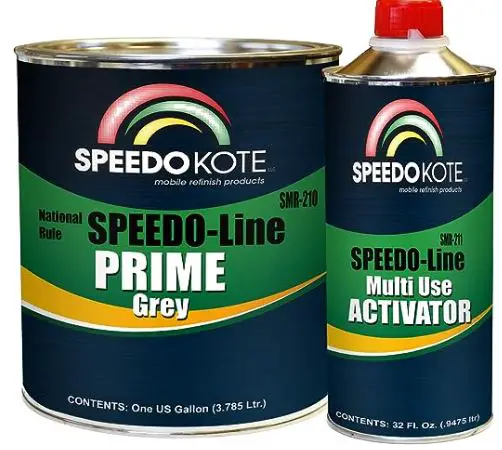 | 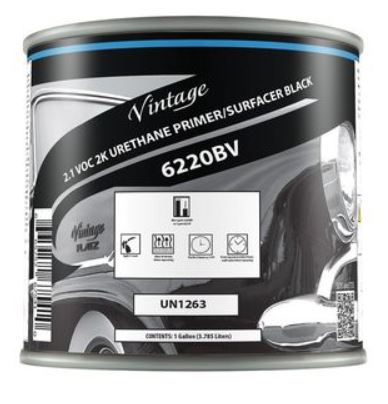 |  |
| Check Price on the Official Website | | Check Price on the Official Website | |
Frequently Asked Questions (FAQs):
Is a primer the same as a sealer?
Sealer is a kind of primer that is specially designed to be used with a primer. A sealer, on the other hand, is a type of coating that is applied over a surface to create a barrier between the surface and the topcoat of paint. Primer is a type of paint that is designed to be applied to bare metal or other surfaces before the topcoat of paint.
Do I need sealer before the base coat?
Yes, you must seal your automotive before applying the base coat. A sealer is recommended to promote adhesion and improve the coverage and durability of the base coat. A sealer can also help to prevent any contaminants, such as oil or wax, from affecting the final finish.
Can I sand the Nason sealer?
Yes, you can sand the Nason sealer. When sanding the Nason sealer, use fine-grit sandpaper, and sand lightly to avoid removing too much of the sealer. Sand in a circular motion and use a sanding block to ensure even sanding. After sanding, remove any dust or debris from the surface before applying the next coat of paint.
Conclusion
The discussion regarding Nason sealer problems has come to an end. Hopefully, you’ll be able to solve your issues by reading the article.
If you are able to get your fix, try a new batch of the sealer. Because most of the time the old sealer loses its fresh appeal and can’t function properly. Also, always try to maintain the manufacturer’s instructions while applying the sealer. All the best!
As an Amazon Associate I earn from qualifying purchases.
